Sending Email with Go (Golang) via SMTP or API
Sending email with Go can be done via HTTP API or SMTP.
Although Go is perfect for network communication the SMTP protocol is quite verbose. HTTP makes a more convenient / efficient protocol for sending email within Web applications. CloudMailin provides sending email via HTTP API or SMTP to allow the developer to choose.
To obtain your SMTP credentials you can create a free outbound account with CloudMailin.
Sending email with Go via HTTP API
CloudMailin provides the cloudmailin-go package to make sending and receiving email in Go (Golang) straight forward.
To install the package simply go get it:
go get -u github.com/cloudmailin/cloudmailin-go
You can then send a message with the following:
package main

import (
  "fmt"

  "github.com/cloudmailin/cloudmailin-go"
)

func main() {
  // Create the default CloudMailin Client. This example will panic if there
  // are any failures at all.
  client, err := cloudmailin.NewClient()
  if err != nil {
    panic(err)
  }

  // SMTP Settings will be taken from CLOUDMAILIN_SMTP_URL env variable by
  // default but they can be overridden.
  // client.SMTPAccountID = ""
  // client.SMTPToken = ""

  attachment, err := cloudmailin.AttachmentFromFile("./logo.png")
  if err != nil {
    panic(err)
  }

  // Generate an example email
  email := cloudmailin.OutboundMail{
    From:        "sender@cloudmta.dev",
    To:          []string{"debug@smtp"},
    CC:          []string{"carbon@smtp"},
    Headers:     map[string][]string{"x-agent": {"cloudmailin-go"}},
    Subject:     "Hello From Go 😀",
    Plain:       "Hello World",
    HTML:        "<h1>Hello!</h1>\nWorld",
    Priority:    "",
    Tags:        []string{"go"},
    Attachments: []cloudmailin.OutboundMailAttachment{attachment},
    TestMode:    true,
  }

  // This will re-write the email struct based on the
  // JSON returned from the call if successful.
  _, err = client.SendMail(&email)
  if err != nil {
    panic(err)
  }

  // The email.ID should now be populated
  fmt.Printf("ID: %s, Tags: %s", email.ID, email.Tags)
}
By default the package assumes that you have your SMTP credentials stored in an
environment variable called CLOUDMAILIN_SMTP_URL in the form:
smtp://user:password@smtp.cloudmta.net:587. However, these can be set
manually.
For details of the email parameter check the documentation.
CloudMailin will construct the message for you from the supplied parameters.
During development TestMode: true will ensure that messages aren't actually
sent to the recipient. When you're ready to send just remove this or set it to
false.
That's it! The message ID should have been populated on the message struct and you can now head to the summary.
Sending email with Go via SMTP
Sending email in Go (GoLang) is simple with the inbuilt net/smtp package. Go
will automatically attempt to negotiate a TLS connection using STARTTLS when
using SendMail.
All we need to do is create smtp.PlainAuth to perform authentication. Like
CloudMailin Go will only perform plain auth once the TLS connection is
established (docs).
package main

import (
  "log"
  "net/smtp"
)

func main() {
  // hostname is used by PlainAuth to validate the TLS certificate.
  hostname := "host from account"
  auth := smtp.PlainAuth("", "username from account", "password from account", hostname)

  msg := `To: to@example.net
From: from@example.com
Subject: Testing from GoLang

This is the message content!
Thanks
`
  err := smtp.SendMail(hostname+":587", auth, "from@example.com", []string{"to@example.net"},
    []byte(msg))
  if err != nil {
    log.Fatal(err)
  }
}
Creating a Mime Message
In the example above we manually constructed the email content. An email message is structured by a number of headers followed by an empty line and then the content. Multipart mime messages can be used to include multiple parts such plain and html versions of the content.
It's possible to construct messages in Go in a number of ways. Either manually, using templates or by using additional third-party libraries. If you need help with emails in go feel free to contact us.
Summary
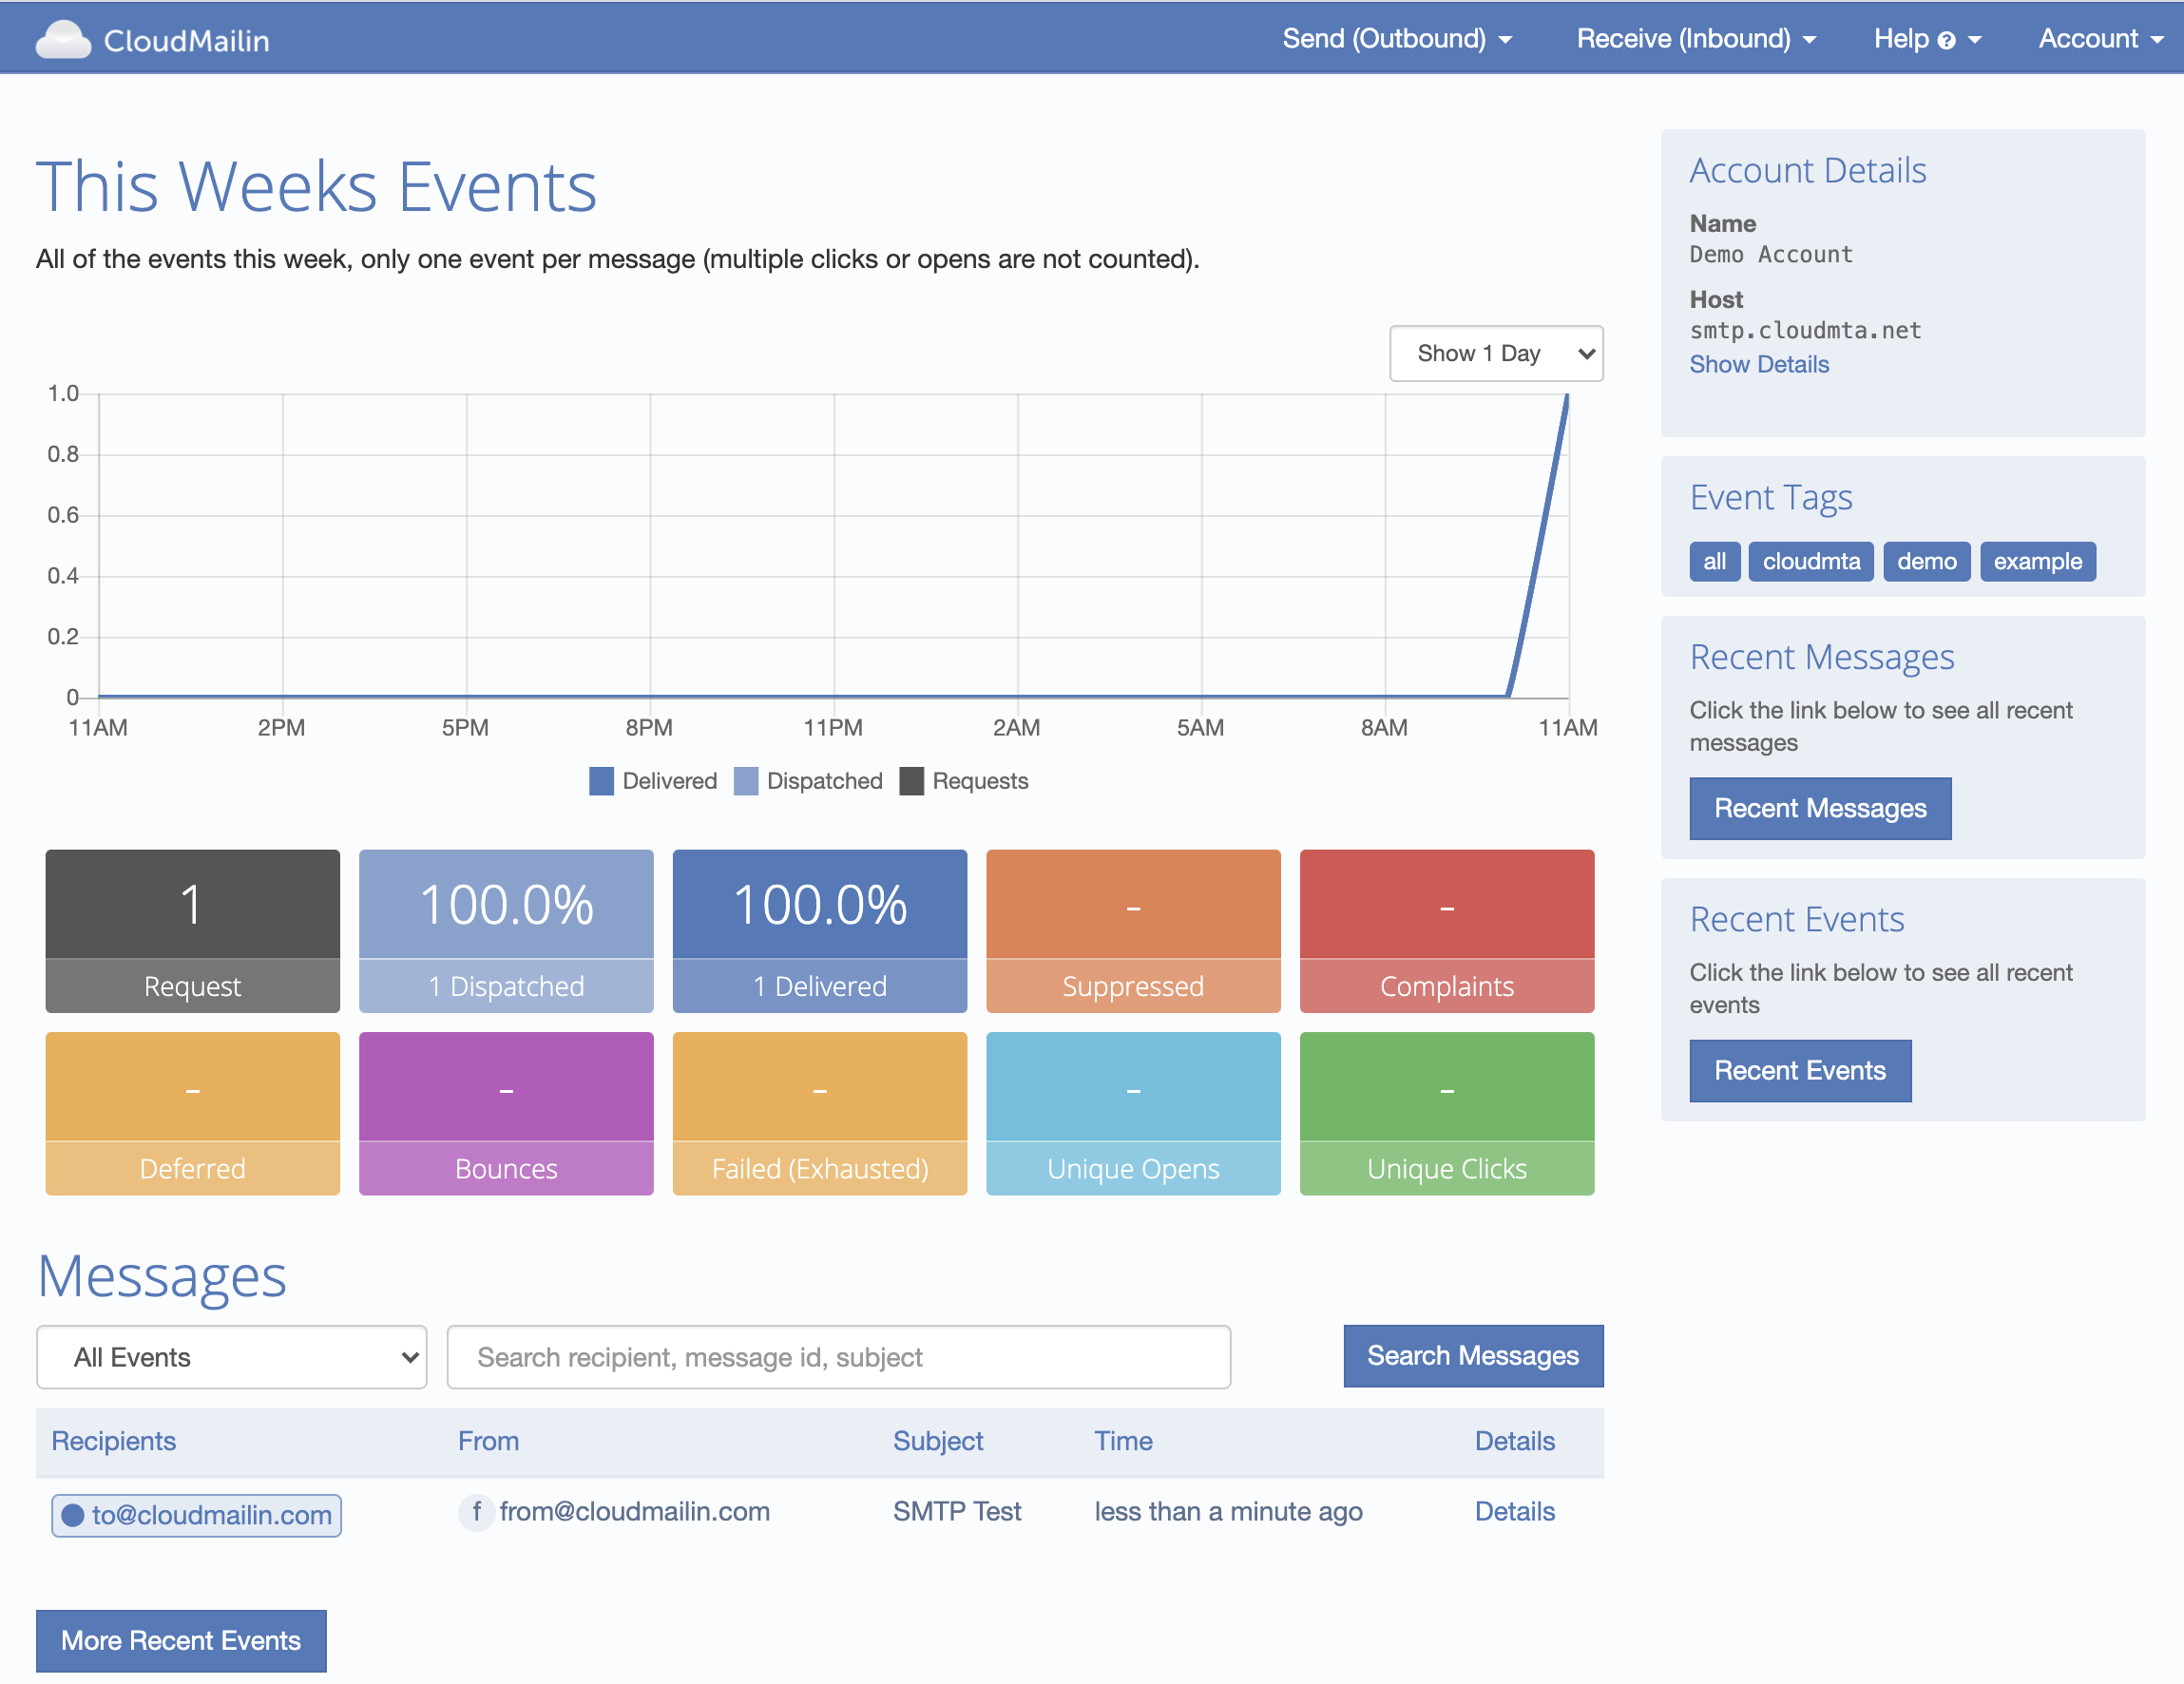
We should now have received a message in our inbox. Using CloudMailin we can also track the status
of each of our emails and see the delivery details. Any tags you've added as a x-cloudmta-tags
header can be used to filter the email messages and search.
If you need any SMTP credentials you can create an account for free and get your SMTP credentials on the outbound account page.
Make sure you changed the from address to match your verified domain and set a recipient

The SMTP transaction will reply with the message-id of the message to use for bounce tracking if required.
250 Thanks! Queued as: f78b876d-dd97-4e10-9a61-067f98044cc7
Of course if there are any questions feel free to contact us and we'll do our best to help you get setup sending email.